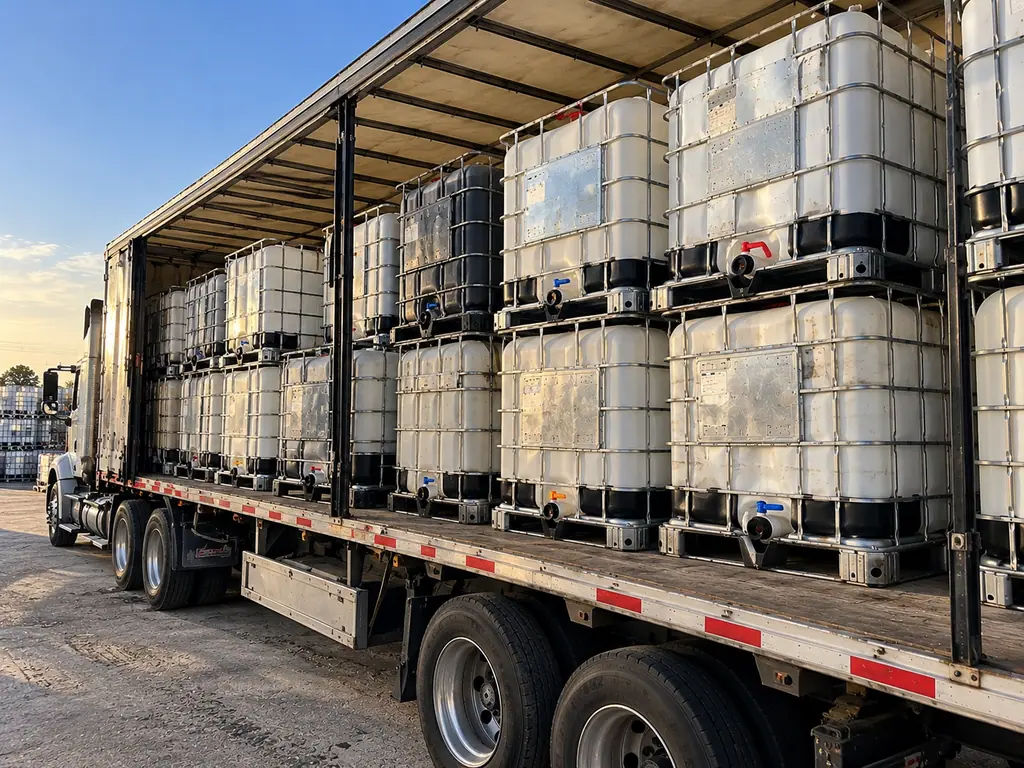
A 275-gallon food-grade tote is the single best value in rainwater harvesting. A purpose-made tank of the same capacity costs three to five times as much and does nothing a reconditioned tote does not. Here is a complete build, in order, with the two mistakes that turn a rain tank into a mosquito farm.
How much water you will actually catch
One inch of rain on 1,000 square feet of roof yields about 620 gallons, of which you will realistically capture 80 to 90 percent. So a single 275 fills from roughly half an inch of rain on a 1,000 square foot roof. In most of the Midwest that means a well-sited tote overflows several times a season — which is why the overflow plan matters as much as the inlet.
What to buy
- A food-grade or rebottled tote. If there is any chance of drinking, cooking, watering edible crops or filling an animal trough, buy food grade. It costs a little more and removes the entire question.
- A 6 inch screened lid insert — insect exclusion, debris exclusion. Non-optional.
- An S60x6 to 3/4 inch garden hose adapter, brass or reinforced poly. The cheap injection-moulded ones crack at the hex within a season.
- A first-flush diverter — the first few gallons off a roof carry the bird droppings, grit and pollen. Diverting them is the largest single water-quality improvement available to you.
- A bulkhead overflow fitting, plumbed away from your foundation.
- A UV cover or opaque wrap. Light plus water plus nutrients equals algae in weeks.
- A drain valve at the lowest point for winter and for flushing sediment.
The build, in order
- Build the base first. Level, firm, and sized for 2,400 lb — compacted gravel, pavers or a concrete pad. Elevating it on a stand buys you pressure: every foot of height is about 0.43 psi.
- Cut the downspout and fit the first-flush diverter, with its own small drain so it empties between storms.
- Run the inlet into the screened 6 inch port. Do not seal the port airtight — the tank needs to breathe as it fills and empties.
- Fit the overflow bulkhead near the top of the bottle and route it to grade, well away from the building. A tank that overflows into its own base will undermine it.
- Fit the outlet adapter and a shut-off at the 2 inch valve.
- Cover the bottle. Shade frame, tarp, or an opaque wrap.
- Fill and watch. Check every fitting under full head before you walk away.
The two mistakes
Mistake one: no insect screen. An open 6 inch port on a tank of standing water is a mosquito nursery, and in a bad year it becomes a genuine nuisance for your whole neighbourhood. A $12 screen insert prevents it permanently.
Mistake two: leaving it full through winter. Water expands roughly 9% when it freezes. A full bottle bulges, deforms its cage and sometimes splits at a seam. Drain to about two-thirds before the first hard freeze, or empty and drain it completely.
Linking multiple totes
For a larger roof, link totes at the base with a 2 inch manifold so they equalise, and take the overflow from the last one in the chain. Linking at the top instead means the first tote fills completely before the second starts, which wastes capacity during short storms.
Is the water drinkable?
Roof runoff is not potable without treatment, whatever the tank is made of. For irrigation, livestock, washing and flushing it is excellent as-is. For drinking you need filtration and disinfection appropriate to your situation, and you should start with a food-grade tank, not finish with one.
We build complete rain harvesters in bay 5 if you would rather not source the parts — see upcycled goods.